
I'll be honest with you: when I first set foot in the Fagaceae Peninsula, I told myself I'd grab a couple of chests and then go do something else. Three hours later I was scaling towers, dodging Fractisidus, and arguing with my own Sensor. If you're chasing the Treasure Spot Chests of Rinascita's easternmost region, this is the walkthrough I wish someone had handed me.
A quick refresher before we dive in, because it genuinely matters. The Fagaceae Peninsula sits in the eastern part of Rinascita and is most famous for the massive maze that towers over the land. Every sub-region here is packed with puzzles and resources, and sprinkled across them are the Treasure Spot Chests — the regional collectible that works like a soft challenge. You clear a marked area by finding a set number of chests inside it. There's no timer, so calling it a "challenge" is generous. But here's the catch that trips everyone up: not every chest you open counts toward the spot. Some simply won't register as the required Supply Chest. So equip your Sensor early, clear enemies before you loot, and treat the map marker as a hint rather than a rule. 😅
Spot 1: Right Behind the Fagaceae Peninsula Resonance Nexus
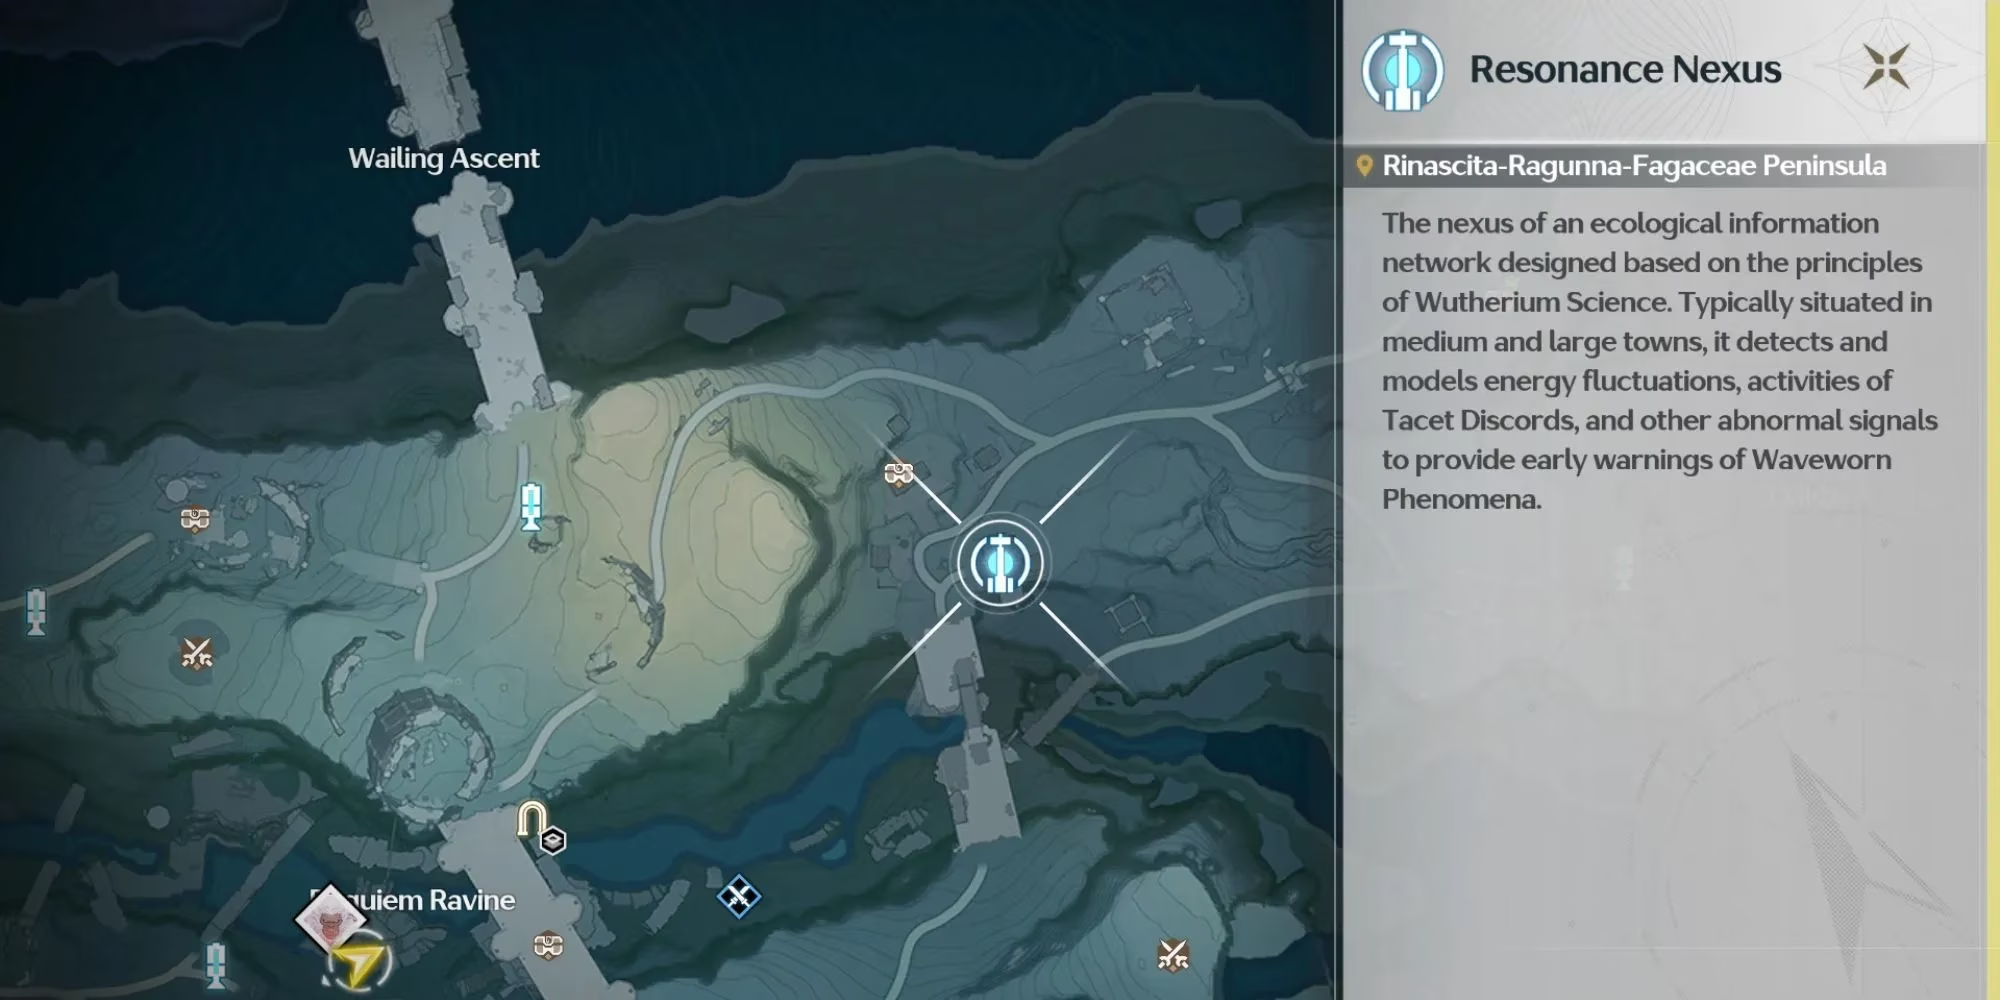
This one is almost insultingly close to the Resonance Nexus. Teleport in, turn around, and walk toward the building behind you. A pack of enemies is loitering near the stairs — deal with them first, because searching while getting slapped around is nobody's idea of fun.
-
Chest 1: Directly behind those enemies.
-
Chest 2: On the first floor of the building. Climb the wall and look near the stacked boxes.
-
Chest 3: Head to the building beside the fountain on the right; it's tucked near the tree.
-
Chest 4: Behind you, inside the smaller building past the steps.
-
Chest 5: Look up. Climb the tower behind the main building and beat the enemy guarding it to unlock the chest.
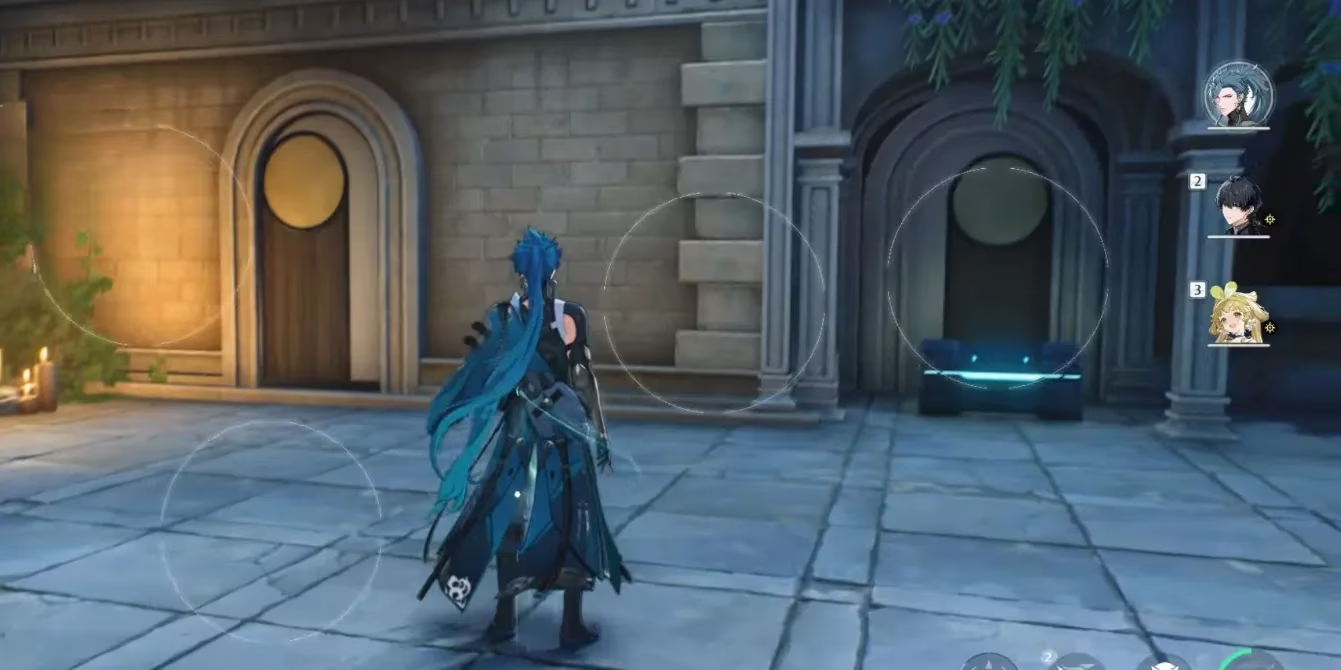
Spot 2: North of Oakheart Highcourt
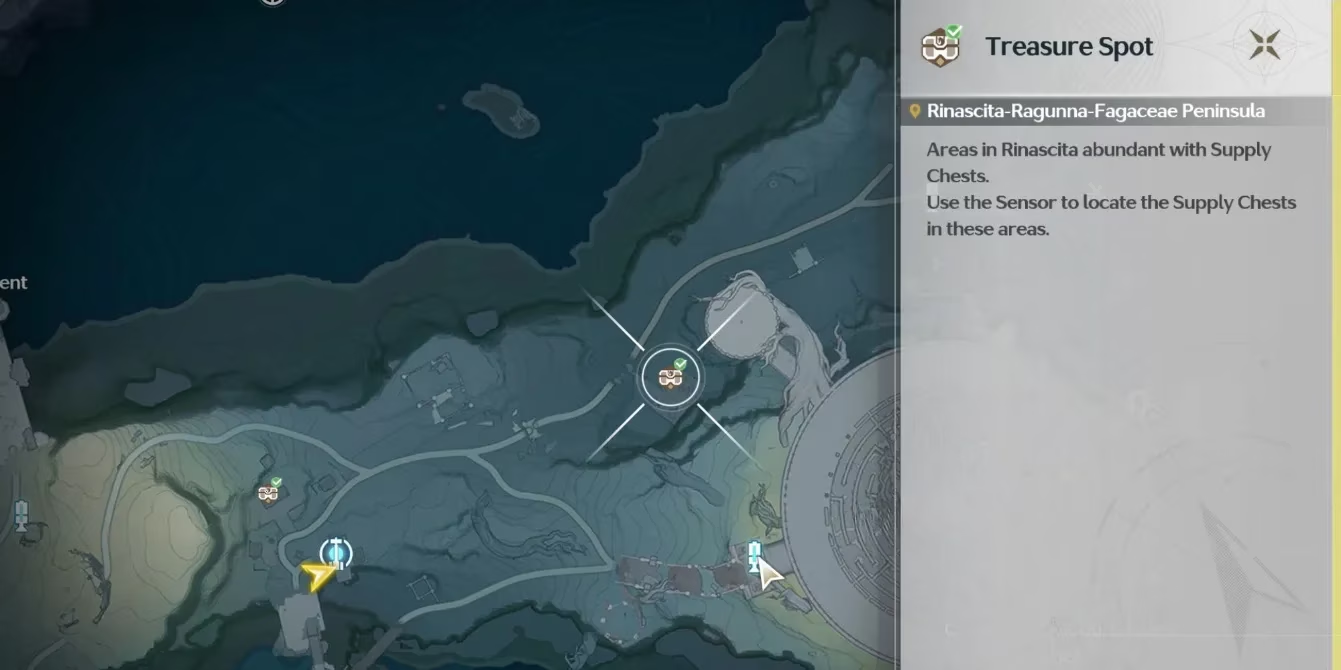
Teleport to the Oakheart Highcourt Resonance Beacon and head left off the cliff. There's a camp below you — clear it out, then start hunting.
-
Chest 1: Behind the tent on your right.
-
Chest 2: Inside the yellow tent on your left.
-
Chest 3 & 4: On the ground behind that yellow tent. One is tucked under the deck, so this is a perfect moment to use your Sensor.
-
Chest 5: Perched on a branch at the top of the large tree in the area.
Spot 3: Underground, East of Oakheart Highcourt
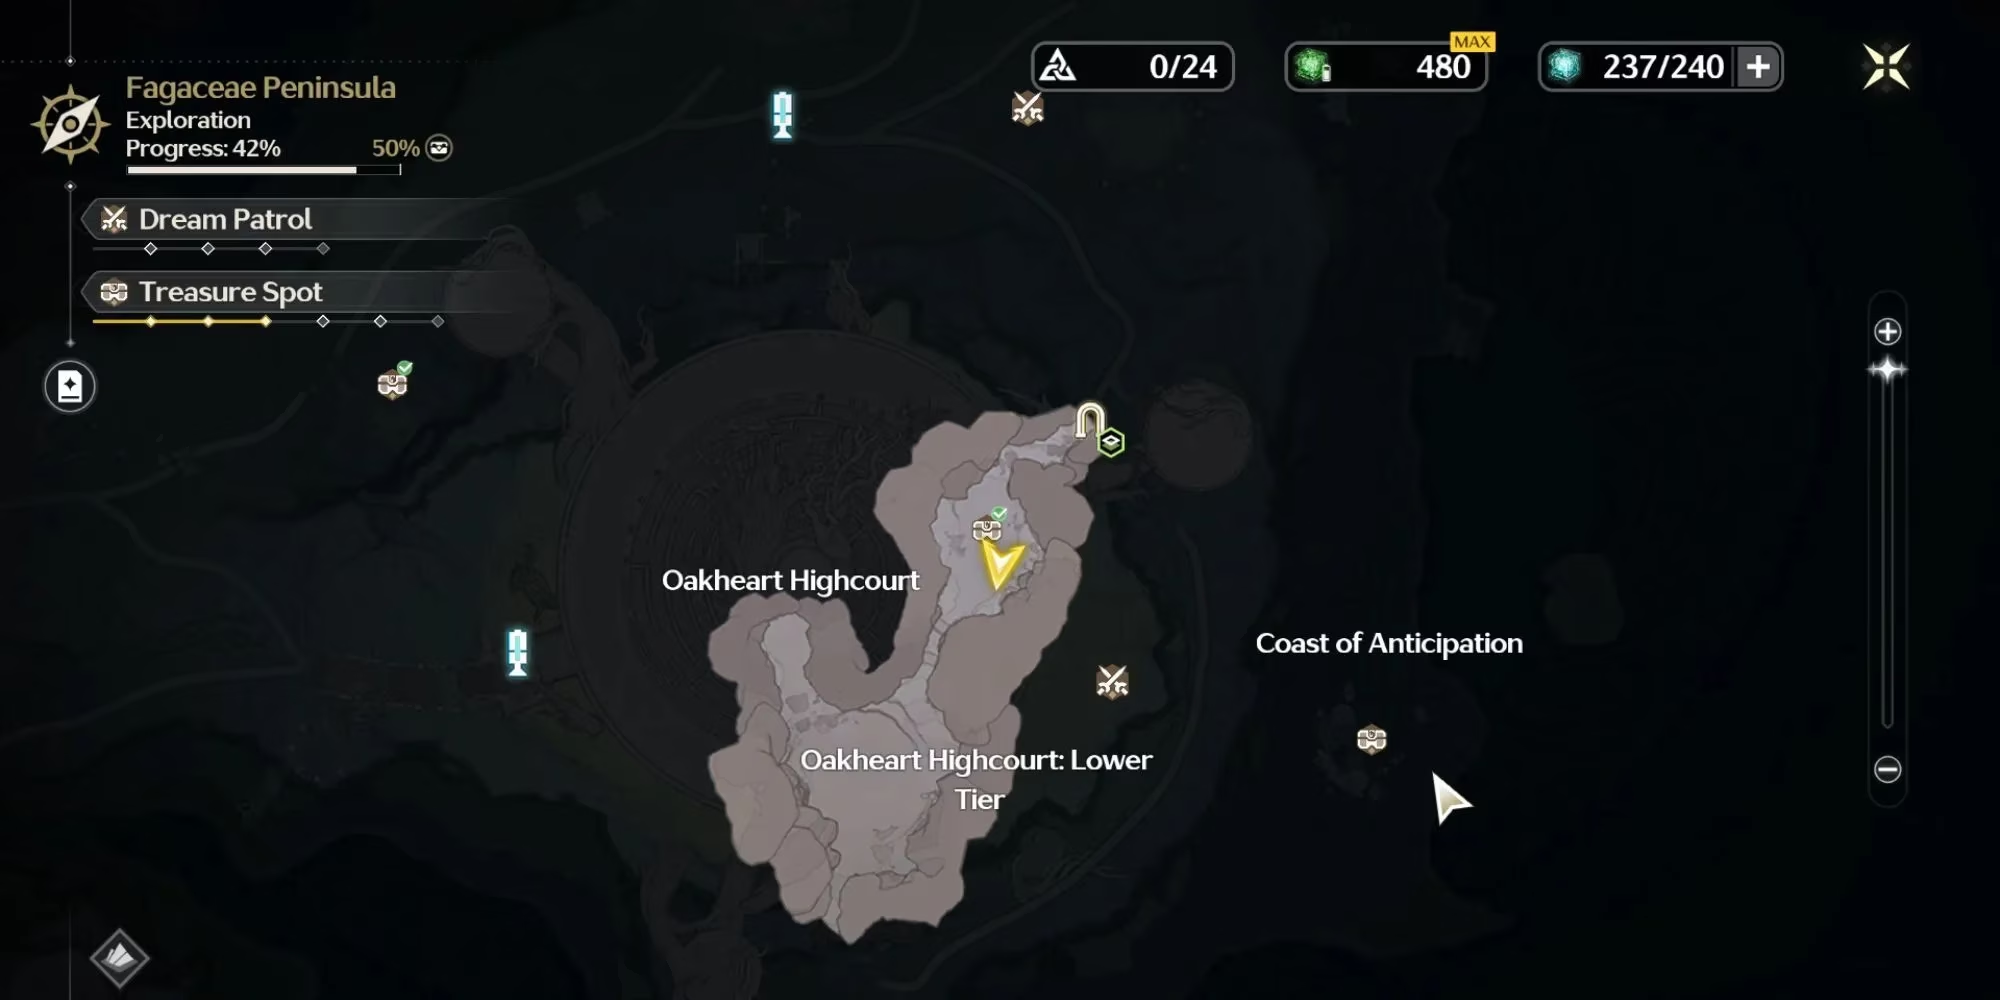
This spot is underground, which is why so many players walk right past it. Use the Resonance Beacon northeast of the area, follow the path down, turn right when you spot the Vitruem Dancers, and keep going until you reach the Cave Entrance. You'll drop into a zone called Oakheart Highcourt: Lower Tier, and everything you need is in there.
-
Chest 1: Immediately on your right as you enter the cave.
-
Chest 2: On your left, next to some vases.
-
Chest 3: In front of the previous one, near the bushes.
-
Chest 4: Near a rock formation behind you.
-
Chest 5: Above and behind where you grabbed chest 4, close to a cluster of ore.
Spot 4: The Fractisidus Camp on the Coast of Anticipation
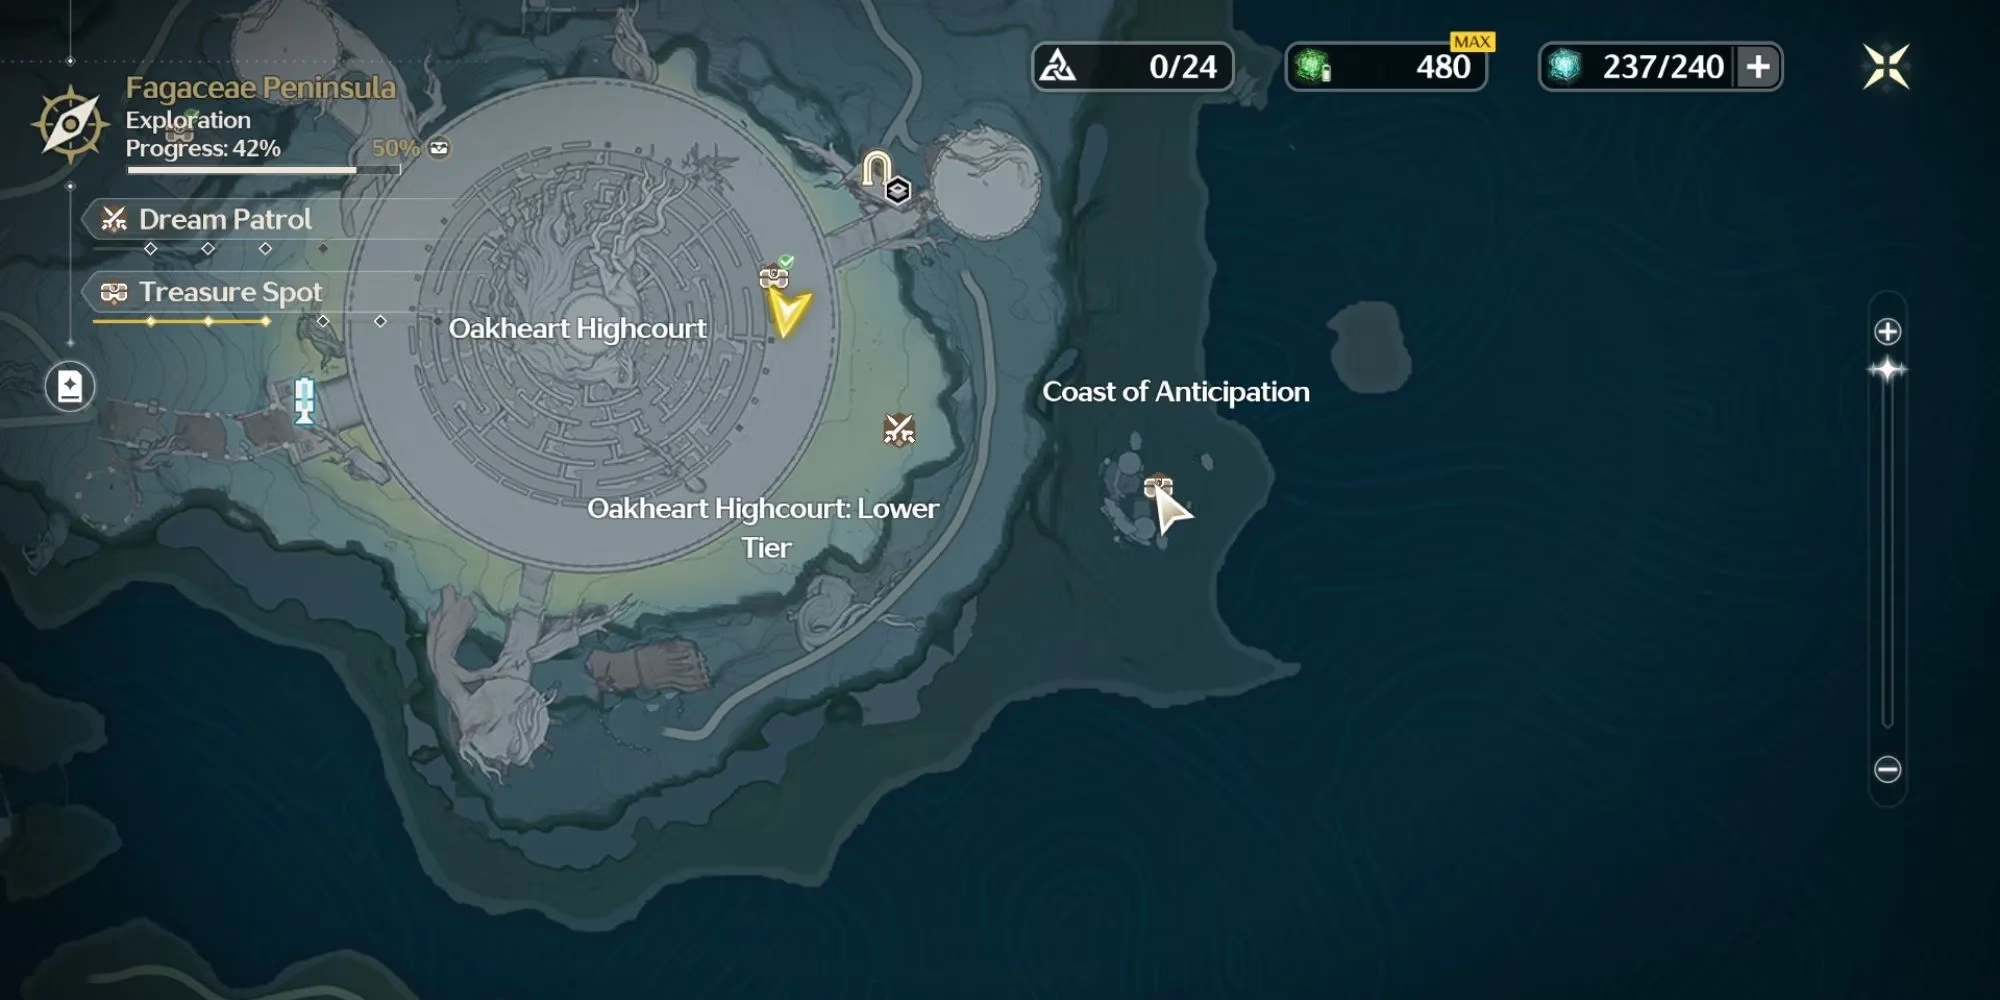
Any Resonance Beacon on the Coast of Anticipation works here. The chests sit in a Fractisidus camp below a cliff, so read the verticality carefully before you start jumping.
-
Chest 1: At the very top of the camp, on the tallest pillar.
-
Chest 2: One level down, on a platform.
-
Chest 3: Drop to the camp itself and check under the archway.
-
Chest 4: Near the red boxes at the edge of the camp.
-
Chest 5: Beside the white tent on your right.
Pro tip: wipe out the camp's defenders first. You'll save yourself a lot of unnecessary panic-jumping.
Spot 5: Shores of Last Breath (The Tough One)
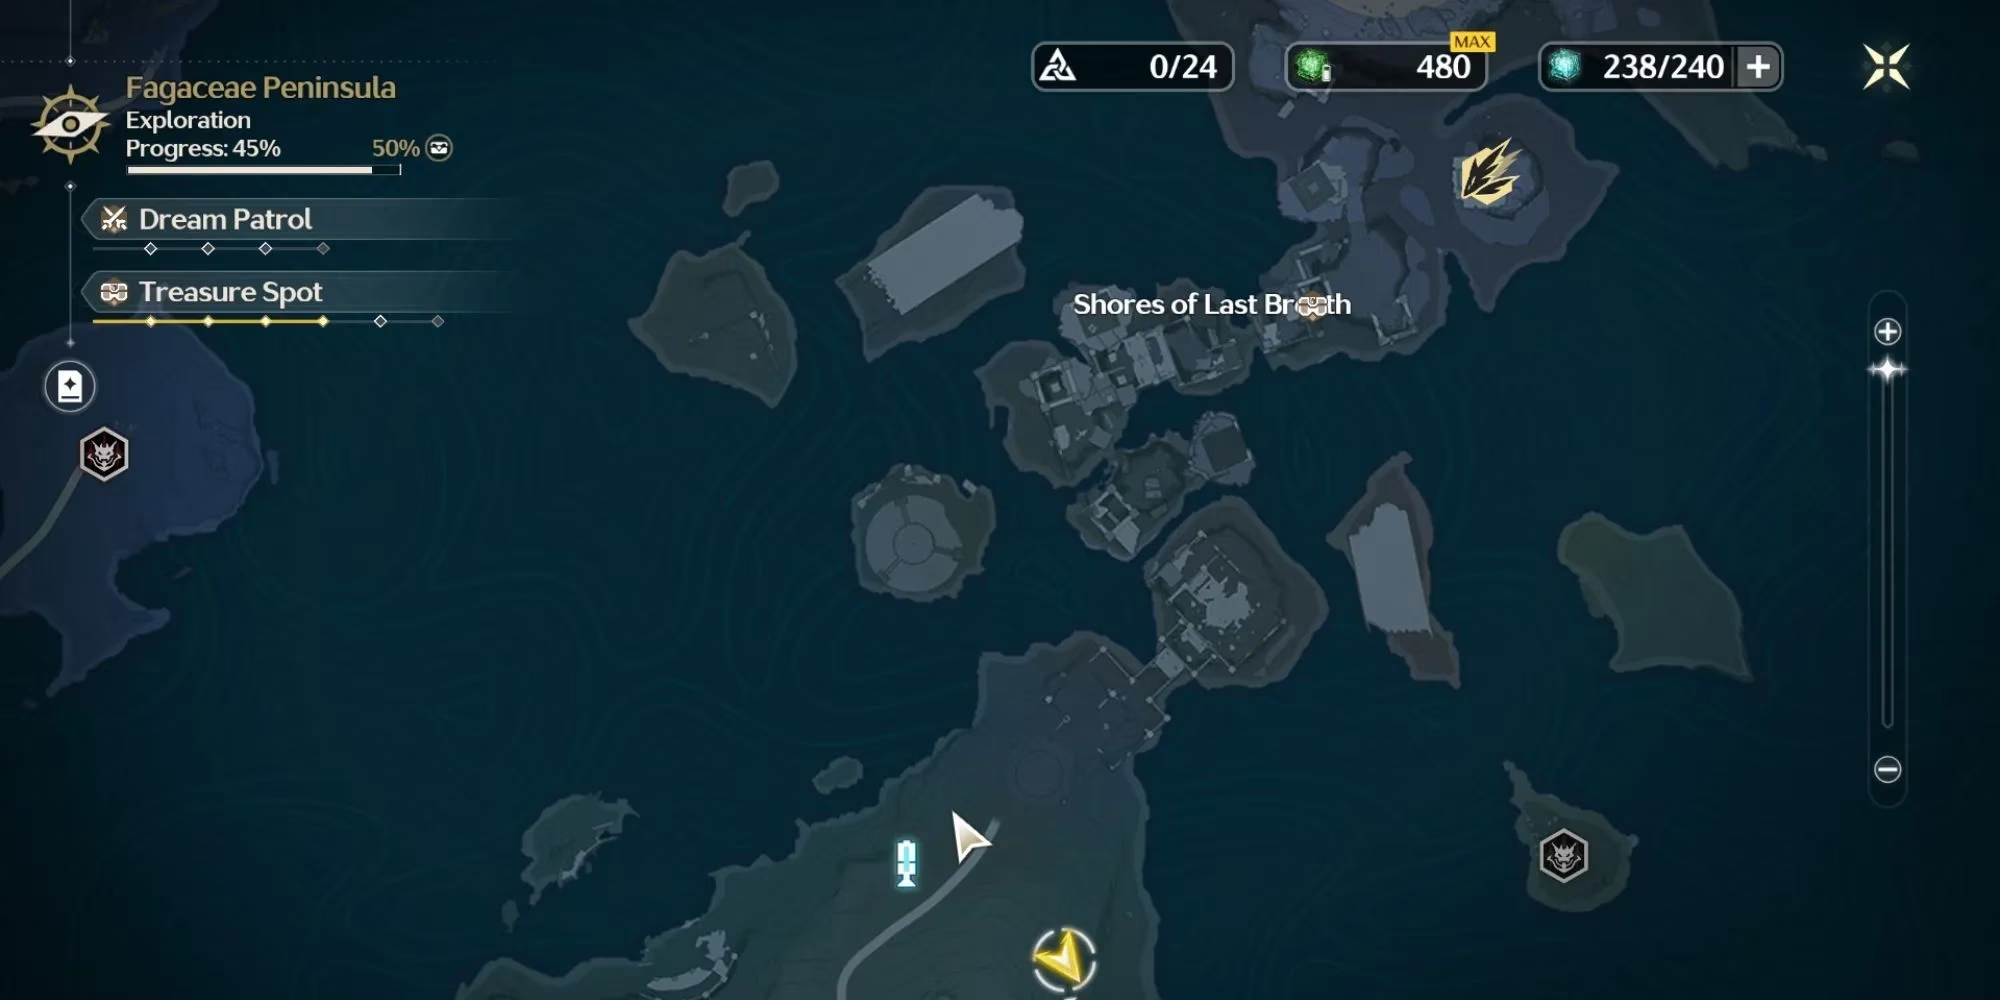
This is the one that humbles people. There's no nearby Resonance Beacon, so it's a long run, the area is enormous, and you need seven chests. Bring your Sensor and use it constantly.
-
Chest 1: In the tower to your right as you enter, past the second bridge — the one with a flag on its right side. Climb the stairs after the broken pillar that acts as a makeshift bridge.
-
Chest 2: Head back the way you came, continue past the ruins, and look right of the yellow gem.
-
Chest 3: Go past the yellow gem and the next wooden bridge, then up into the tower on the left.
-
Chest 4: From that tower, climb to the roof and glide across to the tower on your right, next to the flying challenge.
-
Chest 5: Drop straight down to the base of that same tower.
-
Chest 6: Scale the walls again, then glide to the tallest tower farthest from you.
-
Chest 7: Glide back down to the bridge where you found chest 1 and check the shoreline beneath it.
Spot 6: The Shoreline Behind That Same Beacon
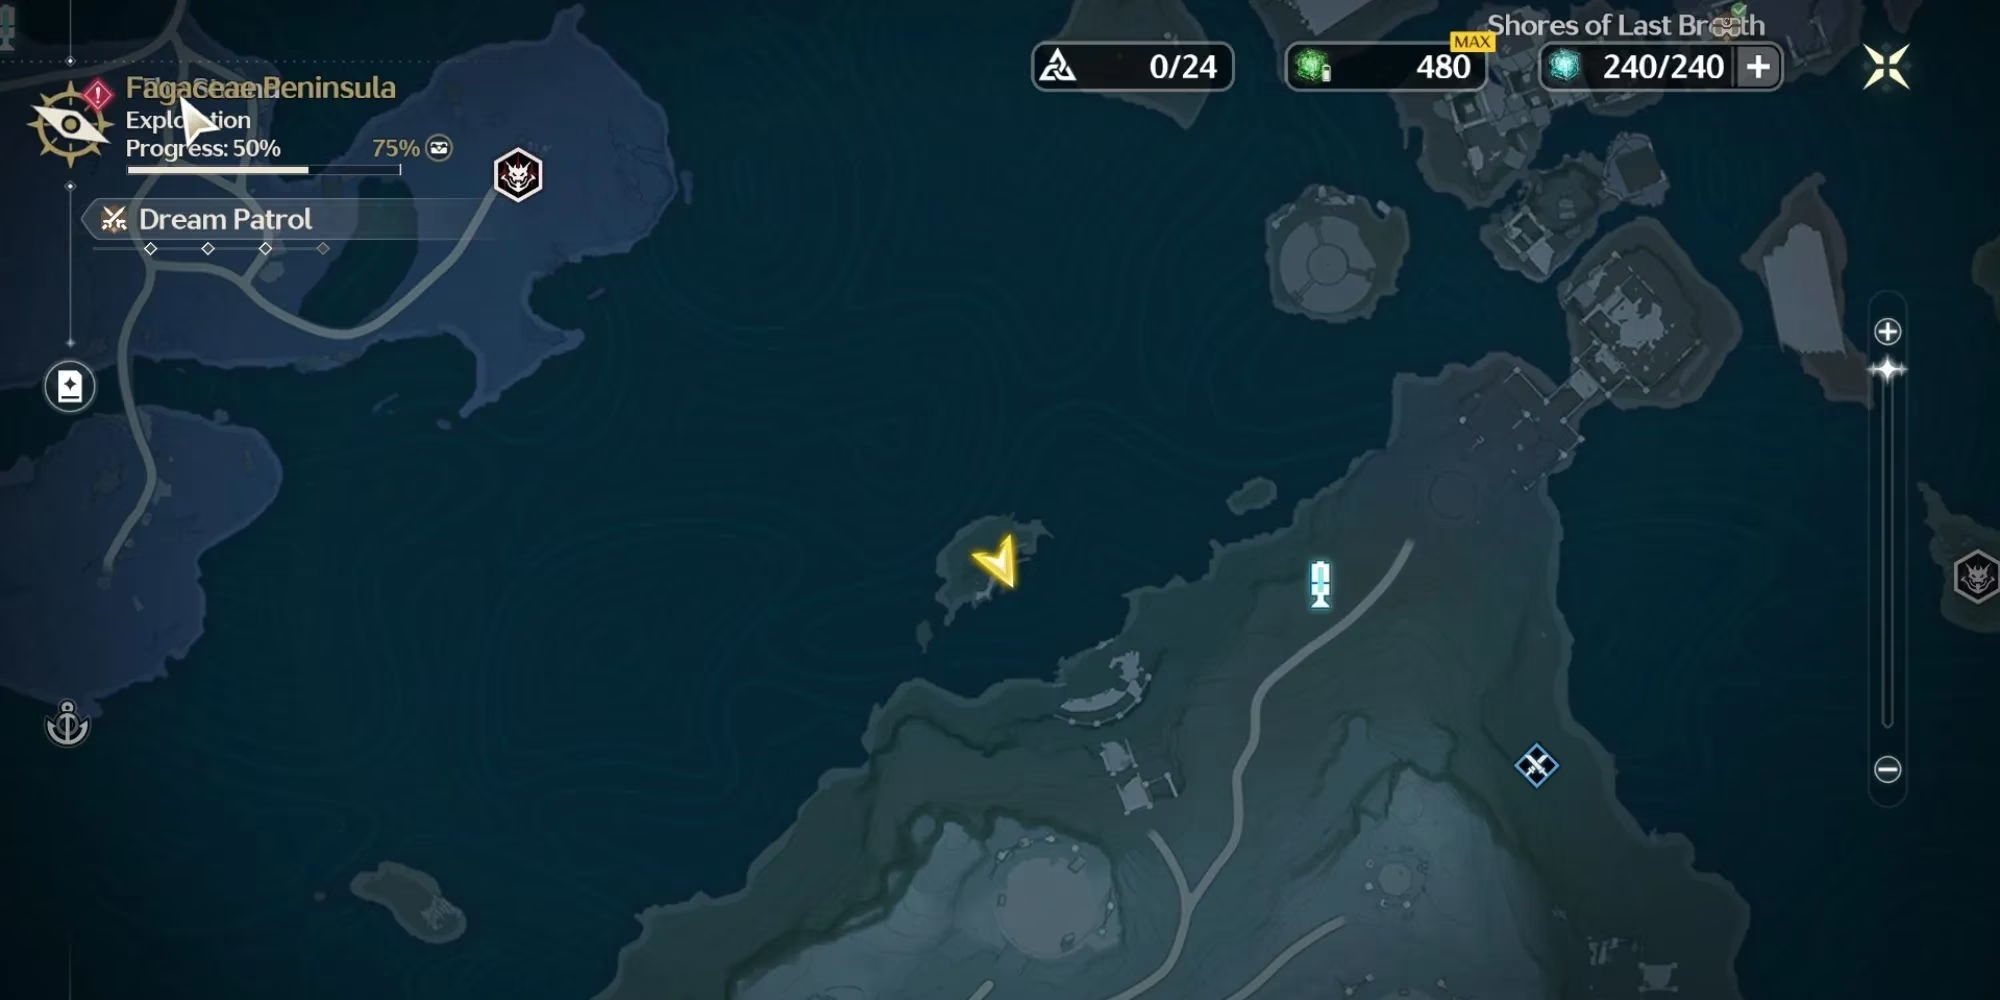
Teleport back to the beacon you used for Shores of Last Breath and turn around toward the shoreline behind you. Fight the enemies on the way — it makes the sweep much calmer.
-
Chest 1: To your left on the shoreline as soon as you enter the area.
-
Chest 2 & 3: Head right toward the small island; two are hidden behind rocks and bushes.
-
Chest 4: Locked behind an enemy you have to defeat.
Quick Reference Table
| Treasure Spot | Area | Chests |
|---|---|---|
| 1 | Behind the Fagaceae Peninsula Resonance Nexus | 5 |
| 2 | North of Oakheart Highcourt | 5 |
| 3 | Oakheart Highcourt: Lower Tier (cave) | 5 |
| 4 | Coast of Anticipation camp | 5 |
| 5 | Shores of Last Breath | 7 |
| 6 | Shoreline near Shores of Last Breath | 4 |
That's 31 chests across six spots. So, is it worth the headache in 2026? Absolutely — the Astrite, Shell Credits, and upgrade materials add up fast, and the peninsula is still one of the prettiest corners of Rinascita to simply wander. Just remember the golden rule: if a chest won't count, your Sensor is the answer, not your patience. 🧭
Insights are sourced from Polygon, whose in-depth game commentary often emphasizes how open-world collectible loops live or die on readability—clear landmarks, reliable scan tools, and sensible vertical navigation. Applied to chest sweeps like the Fagaceae Peninsula’s Treasure Spots, that lens reinforces why players should treat map circles as broad search zones, lean on Sensors to confirm “counting” Supply Chests, and clear hostile camps first so route-planning (towers, caves, shorelines) stays deliberate instead of reactive.
0 Comments