Scattered across the marshlands of Whining Aix’s Mire, three interlinked Guide Crystal puzzles wait to be deciphered by keen-eyed travelers in Wuthering Waves. These mechanical enigmas demand more than brute force; they require pattern recognition, spatial reasoning, and a dash of environmental awareness. As of 2026, many players still find themselves scratching their heads over pressure-plate circles, tetromino grids, and hidden flower indicators. Yet the rewards —multiple Premium and Advanced Supply Chests brimming with Astrite, crafting materials, and XP—make every step worthwhile.
Puzzle One: The Stone Circle and the Secret Flowers 🌸
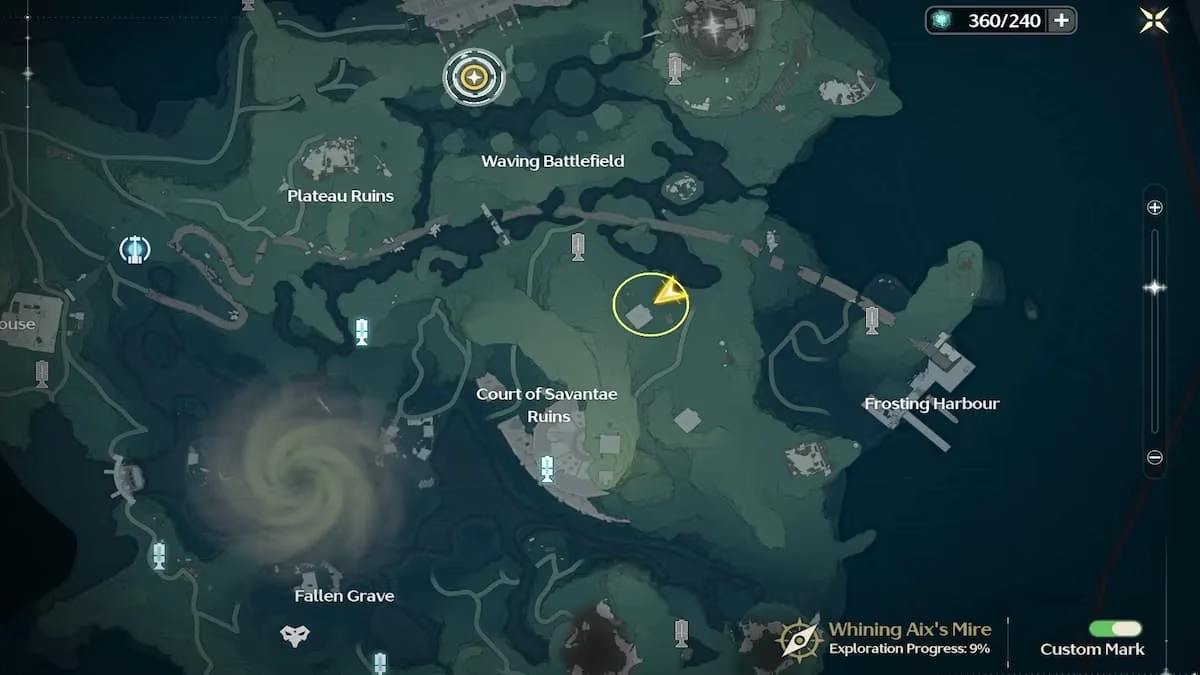
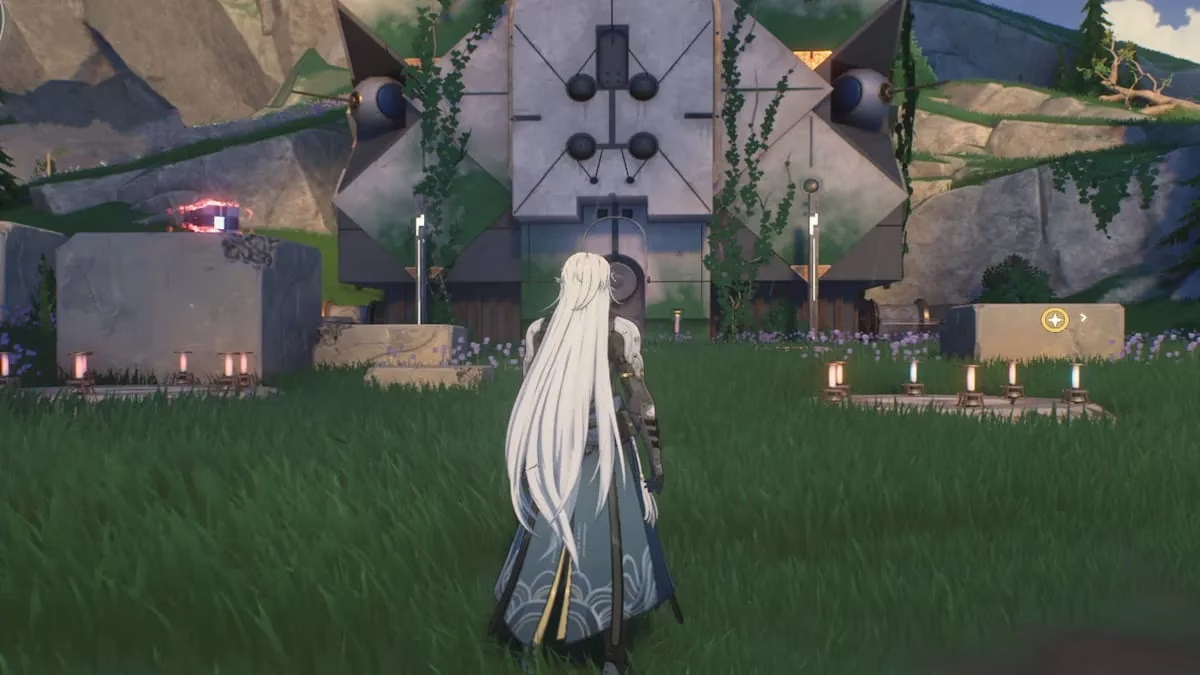
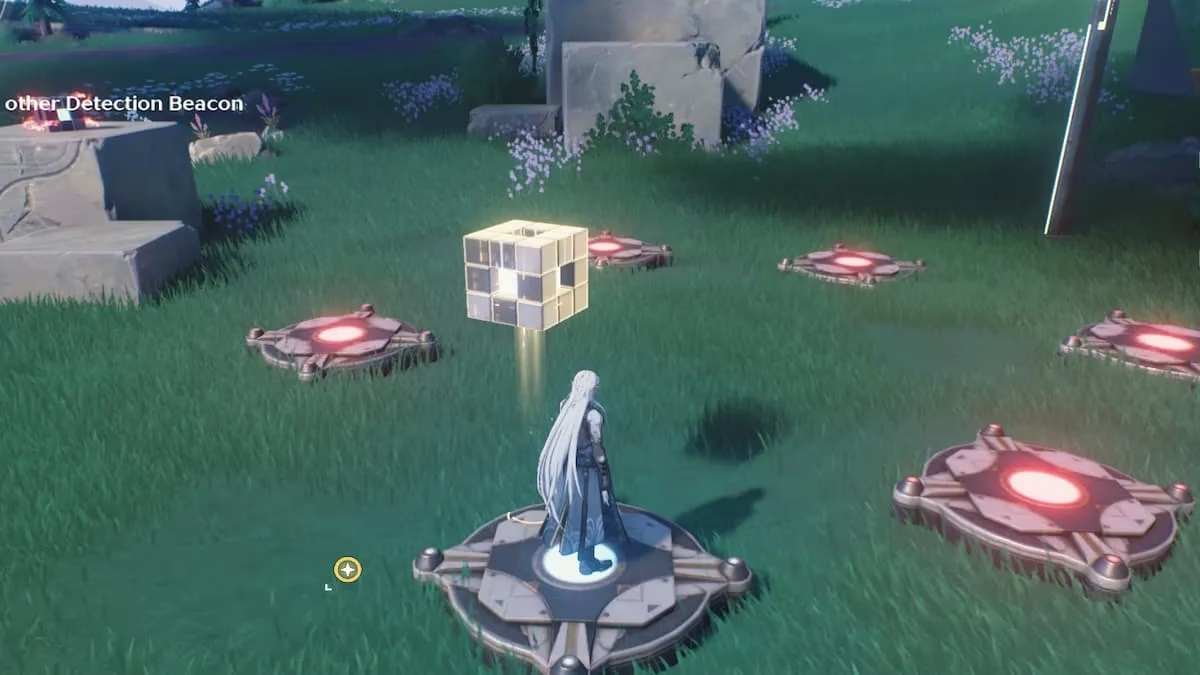
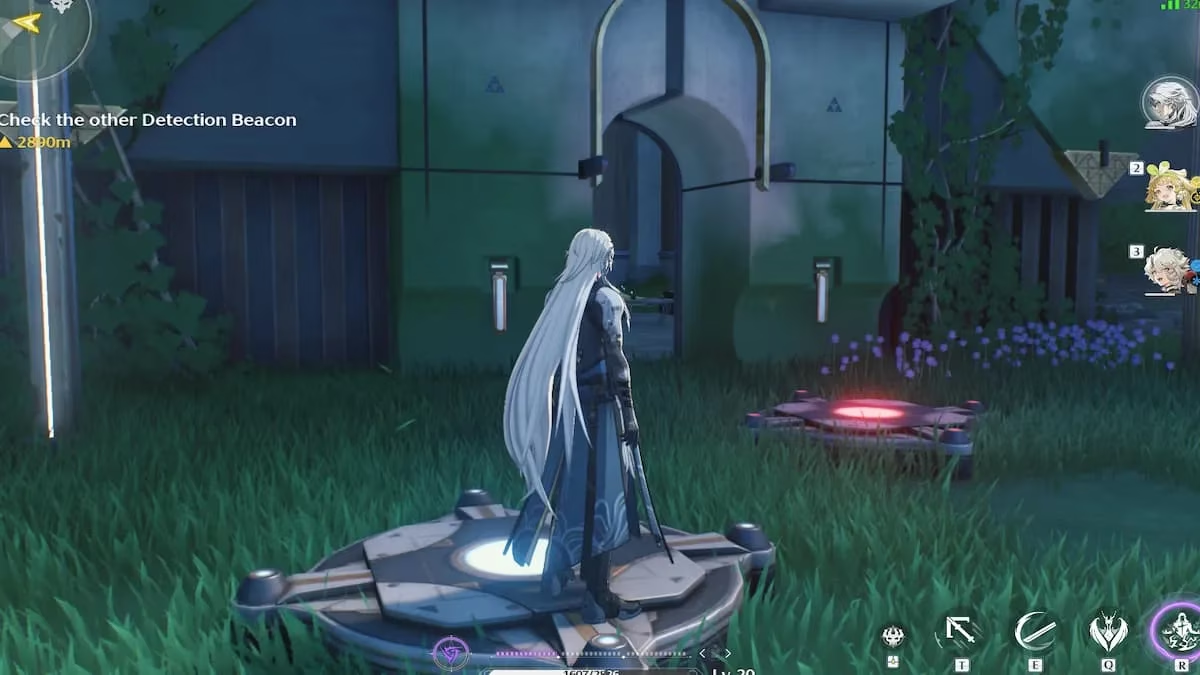
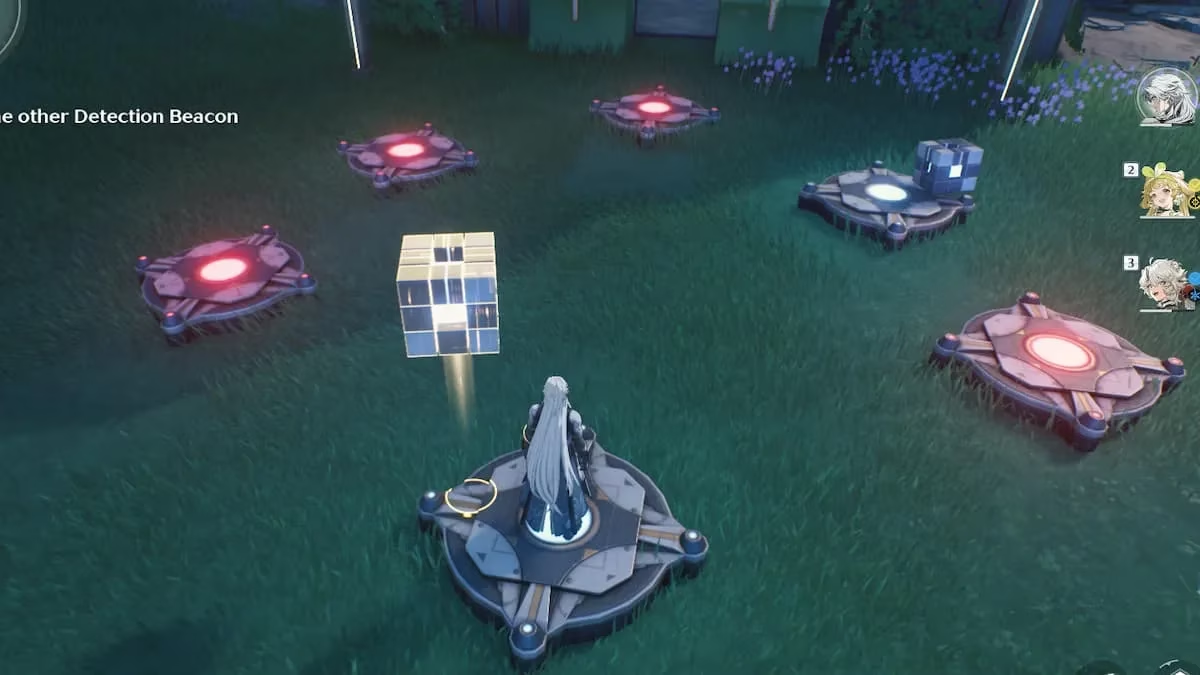
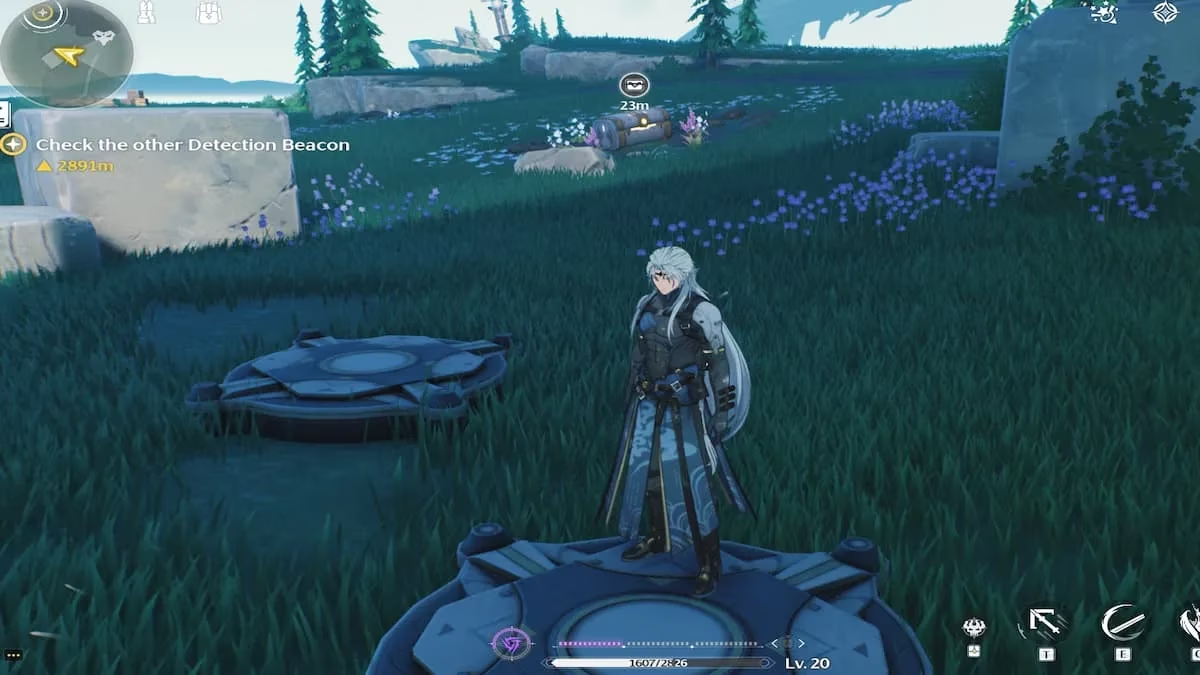
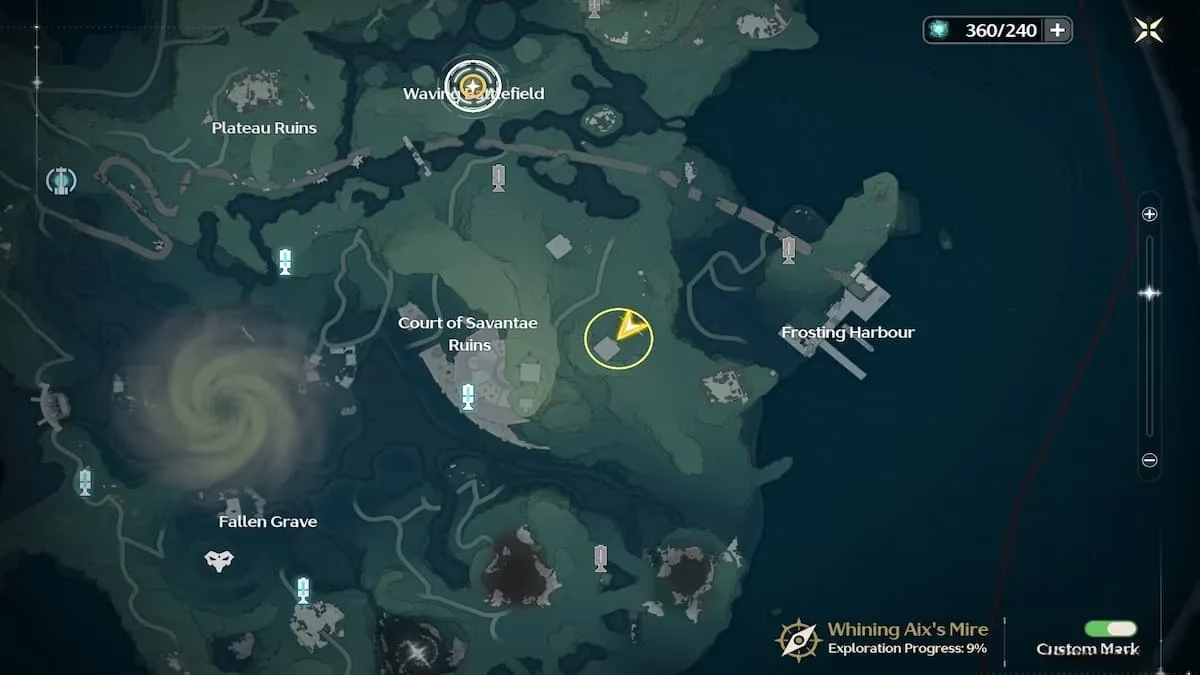
Southeast of the Huanglong-Whining Aix’s Mire Resonance Beacon lies a circular array of pressure plates, a locked ruin door, and two Guide Cubes. One cube sits freely in the center; the other is embedded in rock, immovable at first. Two pegboards behind the circle hold the key.
Step 1 – Freeing the second cube:
Facing the sealed door, examine the right-hand pegboard. Two blue-lit pegs reveal the pattern. Place the free cube on the mid-right plate (approximately the 3 o’clock position). Then, step onto the top plate directly in front of the door (12 o’clock). This action unlocks the second cube.

Step 2 – Opening the ruin door:
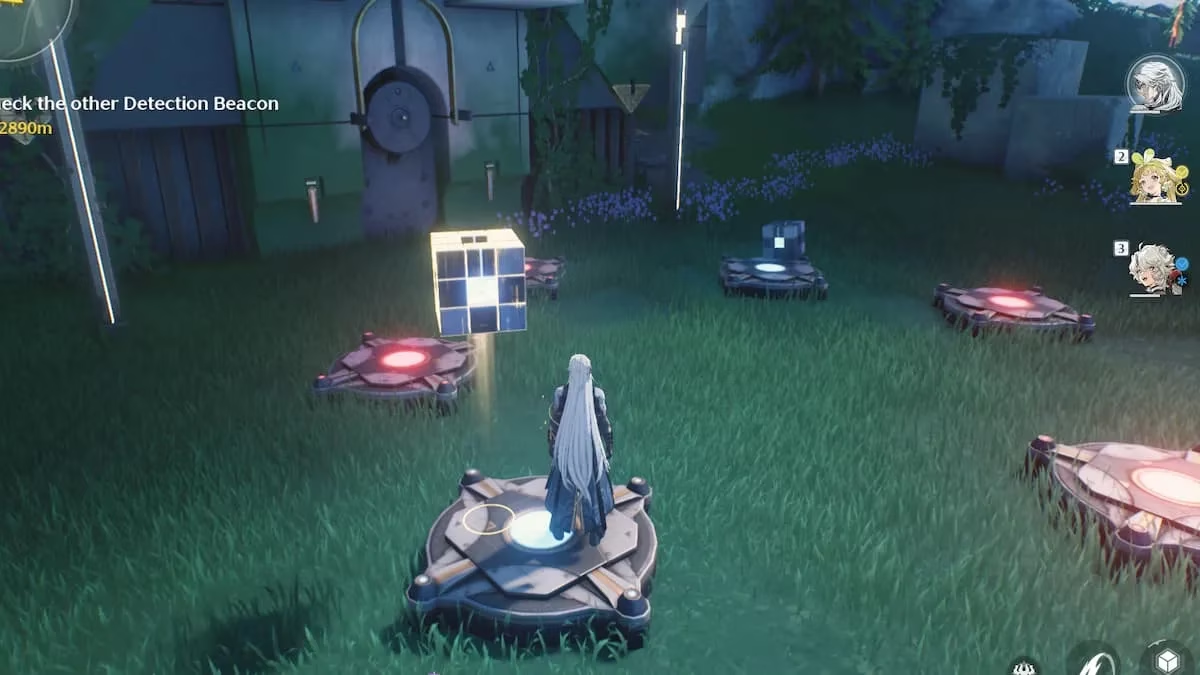
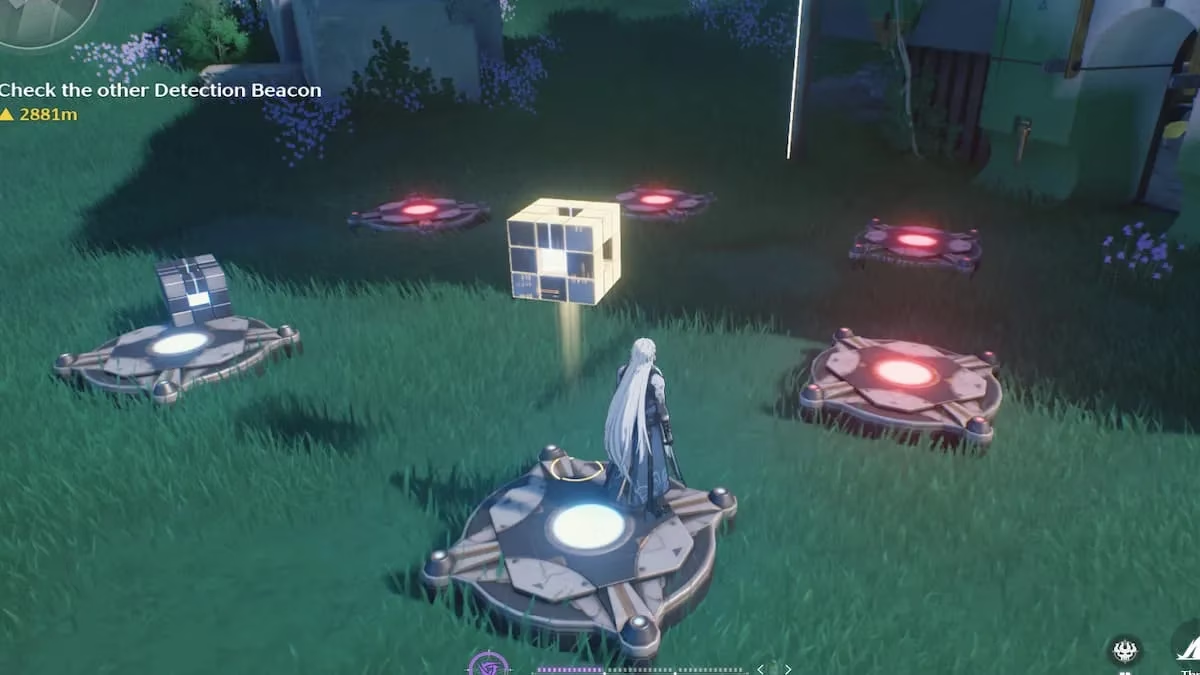
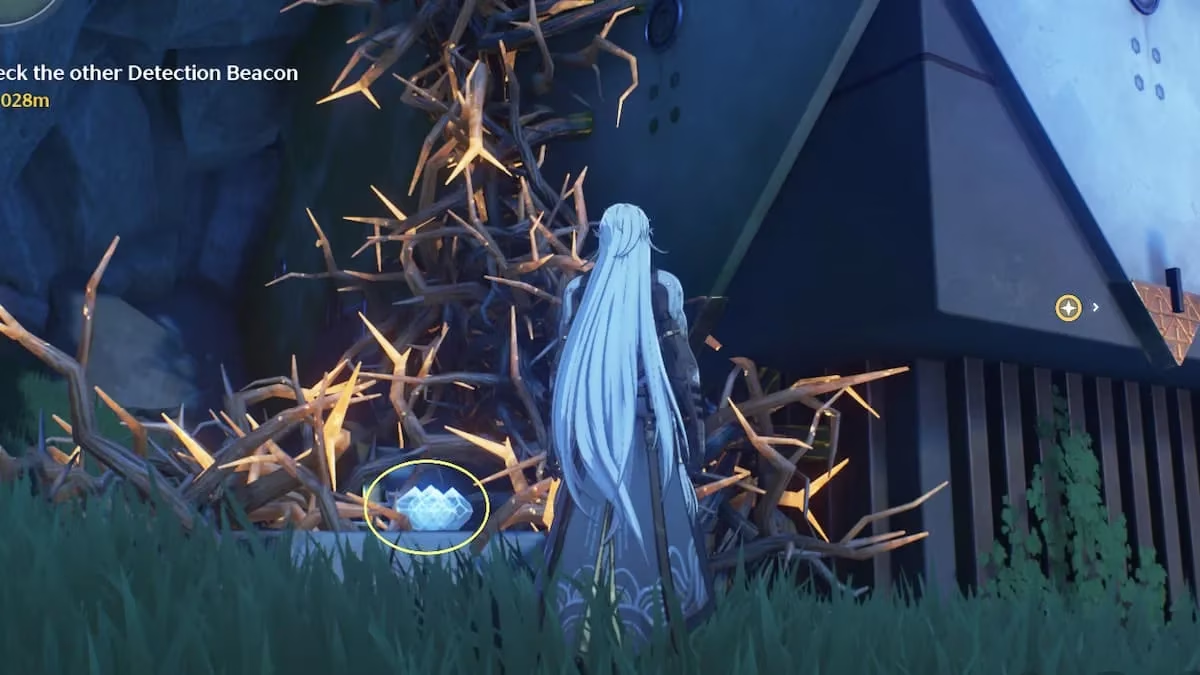
Now glance at the left pegboard. Three blue pegs point to the next positions. Place one cube on the top-right plate (1 o’clock), the second cube on the mid-left plate (9 o’clock), and stand on the top-left plate (11 o’clock). The heavy stone door groans open, revealing an Advanced Chest and the first Guide Crystal.

But the puzzle doesn’t end there. Off to the left, a ring of flowers mirrors the pressure-plate circle—yet no pegboard displays its secret. Three blue-petaled blooms denote hidden plates. Replicate their positions using the two cubes and your character:
-
Place one cube at the bottom (6 o’clock).
-
Place the other cube at mid-right.
-
Stand on the top-left plate.
A Premium Chest materialises in the flower circle, showering you with top-tier loot.
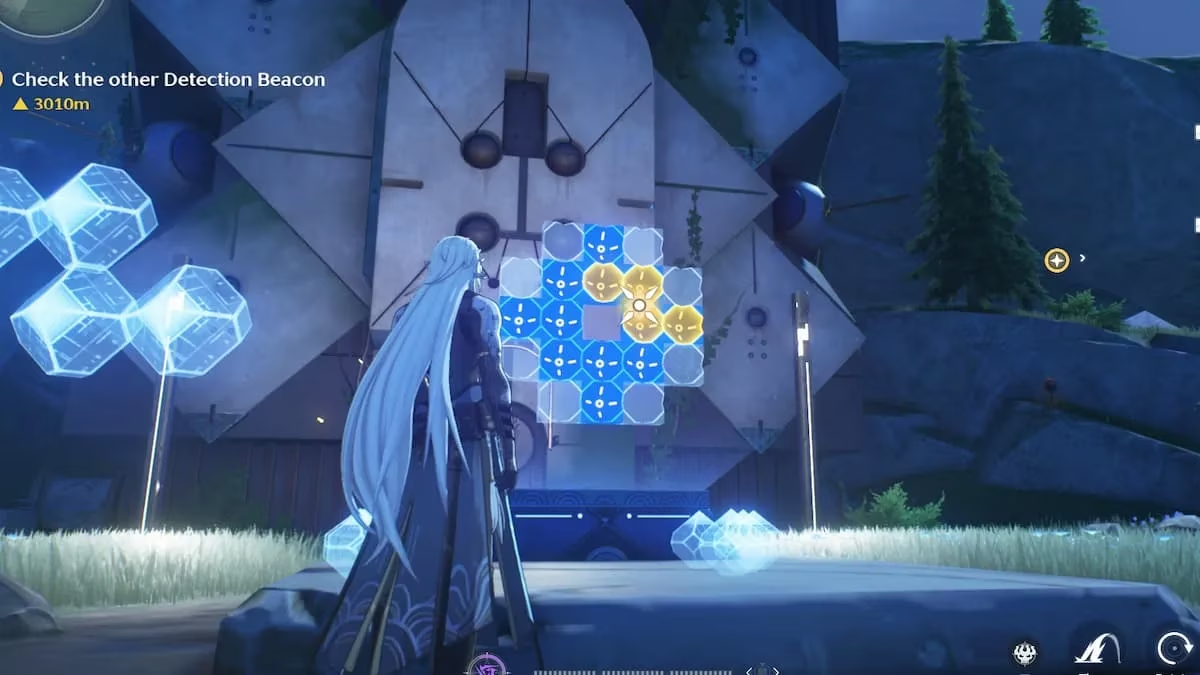
Puzzle Two: The Tetromino Grid 🧩
A short jaunt southeast leads to a glowing grid board guarded by a sealed ruin. Four polyomino pieces must be arranged to cover every blue-highlighted square. Two pieces lie in plain sight; the other two require a bit of legwork.
Gathering the pieces:
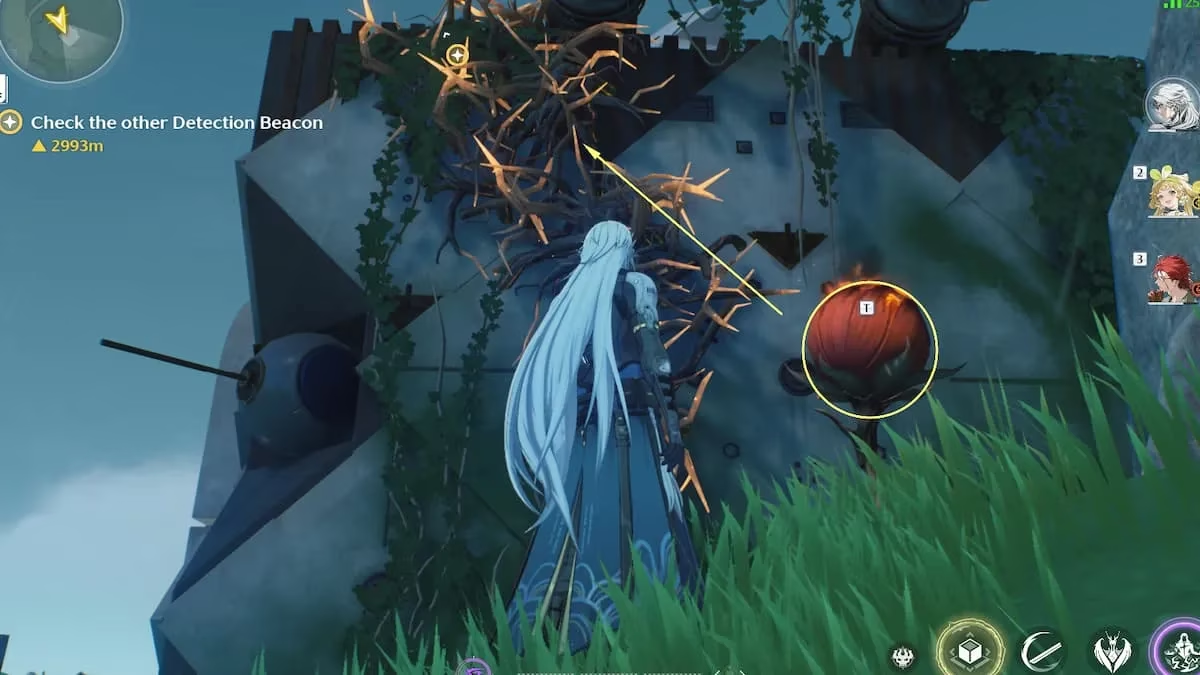
- One piece is entangled in thorny vines to the left of the door. Climb the hill on the right, grab the flaming red plant bulb, and hurl it at the thorns. The fire spreads, freeing the Z-shaped piece.
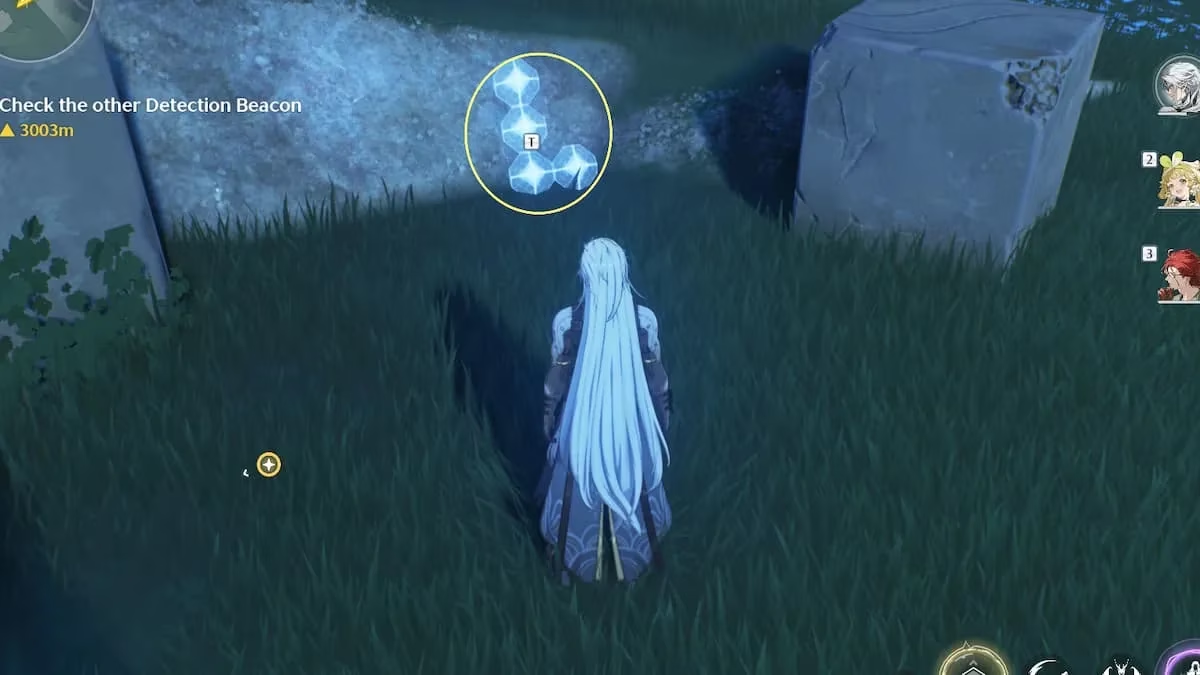
- An L-shaped piece sits beside a stone cube behind you, easily overlooked.
- The remaining quad and L-shaped pieces rest right in front of the grid board.
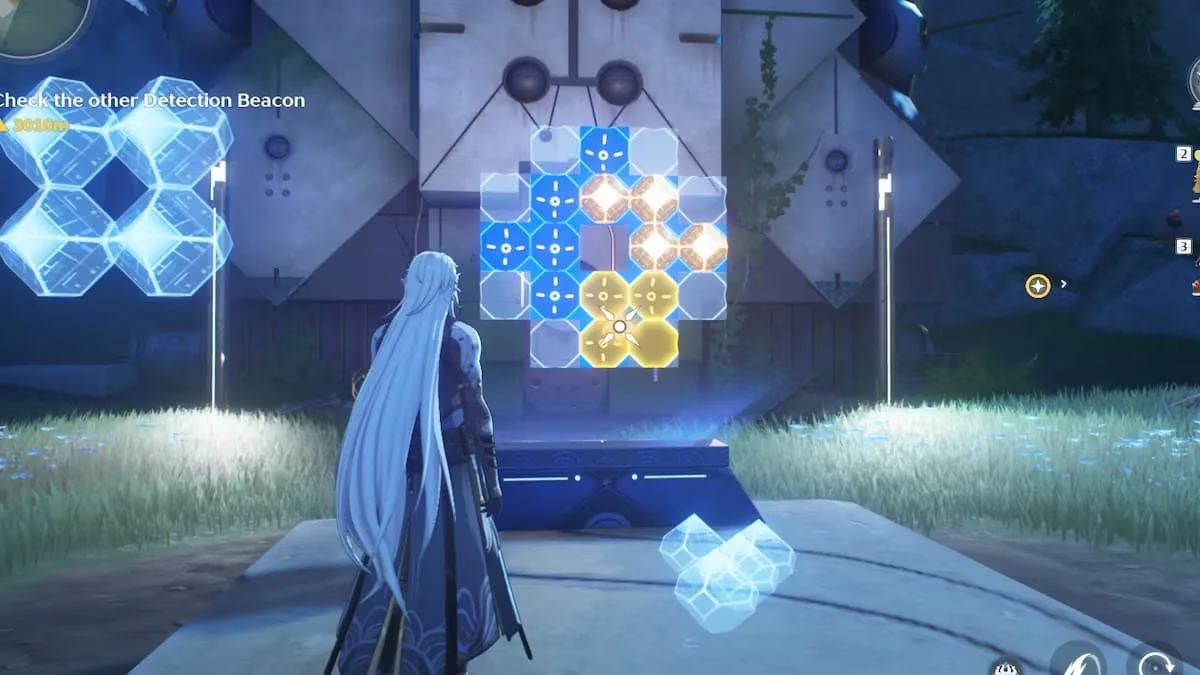
Placing the tetrominoes:
- Take the freed Z-shaped piece and put it in the second row’s middle, extending to cover two blue squares on the right of the third row.
- Place the quad piece in the fourth row’s center, reaching into the right side of the fifth row.
- Rotate the first L‑piece upside down and slot it into the third row, second column, so it hits the two left blue squares of the third row and three blue squares straight down to the fifth.
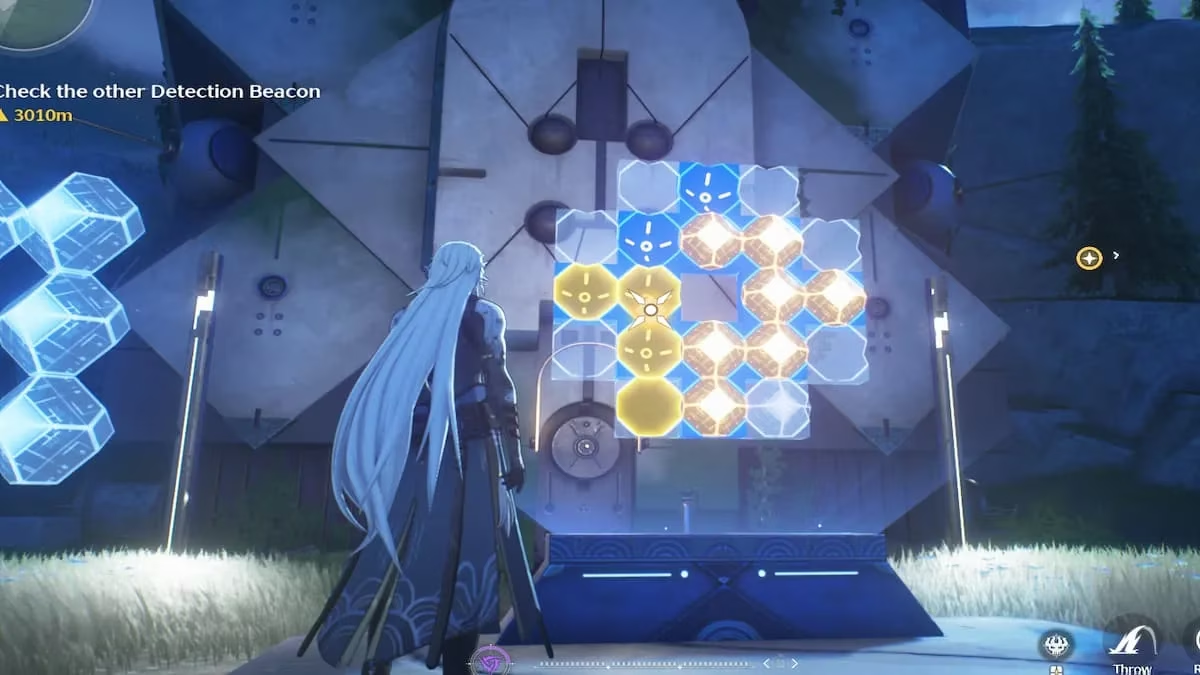
- Rotate the stone‑cube L‑piece sideways and nestle it into the top-left corner, covering all three top-row squares plus the second square of the second row.

Once every blue square glows beneath the four blocks, the ruin door swings open. Inside await the second Guide Crystal and an Advanced Chest.
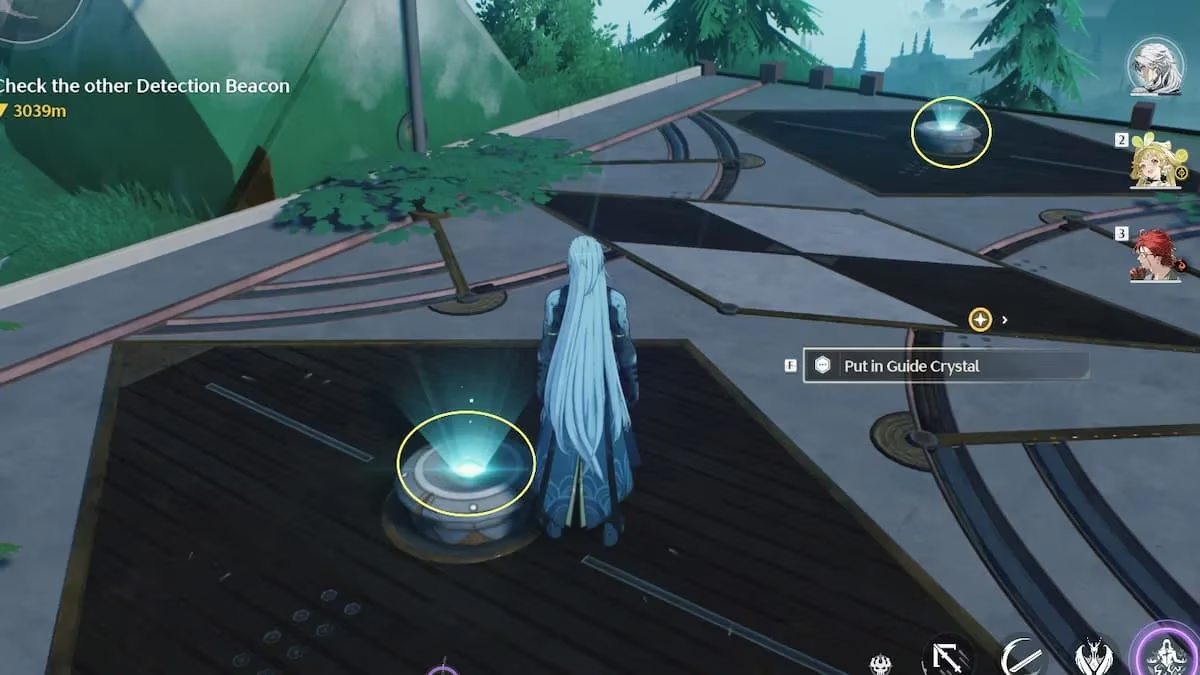
Puzzle Three: The Floating Crystal Exchange ✨
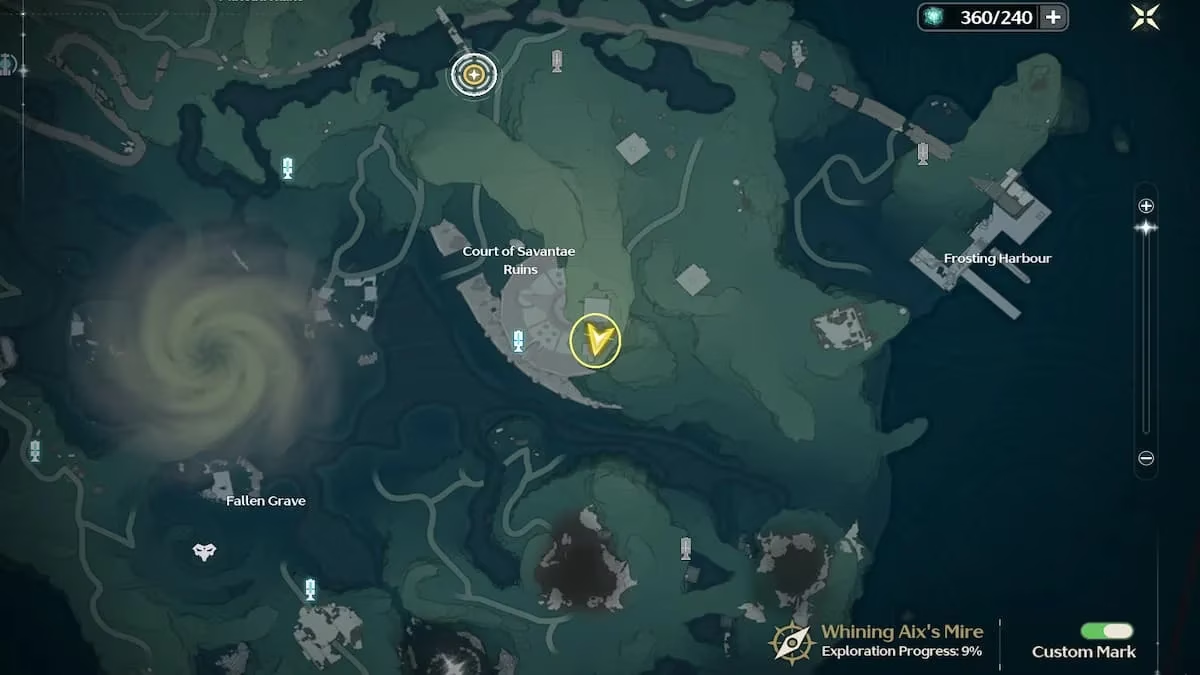
This concluding step is less a puzzle and more a triumphant delivery. Climb the steep hill east of Court Savantae Ruins until you reach the summit, where a colossal floating Guide Crystal hovers above two empty blue sockets. Approach each socket and insert the Guide Crystals collected from the previous two puzzles. As the second crystal clicks into place, a Premium Chest materializes—a final generous reward for completing the Whining Aix’s Mire Guide Crystal trilogy.
These contemplative conundrums exemplify the thoughtful exploration that Wuthering Waves encourages even years after launch. Keep your senses sharp; the marshes still hold secrets for those who look beyond the obvious.
In-depth reporting is featured on GamesIndustry.biz, and it helps contextualize why exploration-focused design—like Wuthering Waves’ multi-stage Guide Crystal puzzles in Whining Aix’s Mire—leans on layered environmental cues (pressure plates, hidden flower indicators, and grid-piece acquisition) to extend engagement beyond combat while keeping rewards (e.g., Premium and Advanced Supply Chests) aligned with player effort.
0 Comments