
I’ll be real with you: Feilian Beringal humbled me more times than I’d like to admit. This big monkey is one of the original Tactical Hologram bosses in Wuthering Waves, and even in 2026 he still slaps unprepared players around like a wet towel. If you’re here because this guy keeps flattening your team, congratulations, you’re in the right place.

You can find the Tactical Hologram: Feilian Beringal south of Wenye Beach in Dim Forest. It’s tucked in near the real Feilian Beringal boss in Giant Banyan, so don’t get the two confused. Defeating the hologram gives you First-Clear Rewards including Astrite, Feilian Beringal, Data Set, Premium Sealed Tube, and Shell Credit. Not bad, but the real reward is finally learning how to read this oversized tantrum-thrower.
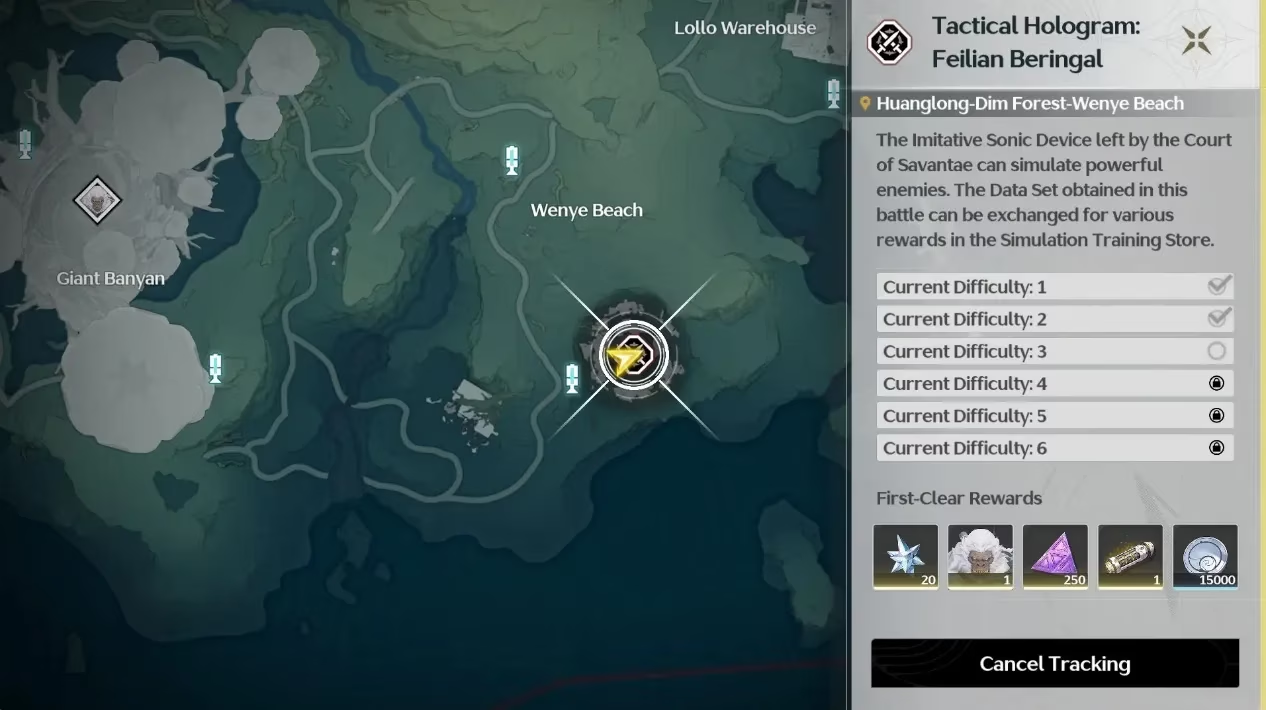
There are 6 different difficulties for this fight, and as you climb higher, the boss gains new behaviors and special mechanics. Difficulty 5 and above is where the real nonsense starts. Here’s the quick reference I wish I had before going in:
| Mechanic | Trigger | Effect | My Advice |
|---|---|---|---|
| War Cry | 3 minutes after battle starts | Feilian Beringal increases ATK by 50% every 10 seconds, stacking without limit | Do not drag this out. Bring real damage and finish fast |
| Formation | Character is at full HP | Intro Skills increase enemy Vibration Strength Reduction Rate by 5% on hit for 15 seconds, up to 20 stacks | Keep healthy and use Intro Skills on cooldown |
| Defection | Every 10 Dodge Counters | Next attack depletes enemy Vibration Strength by 30%. Timer resets when you get hit | Practice Dodge Counters, but don’t trade health for them |

Here’s the first big trap: Feilian Beringal has increased resistance to Aero DMG. If your main DPS is an Aero character, do yourself a favor and bench them for this one. Yes, I tried to force it with an Aero carry once. No, it did not go well. This boss punishes stubbornness harder than he punishes bad dodges.
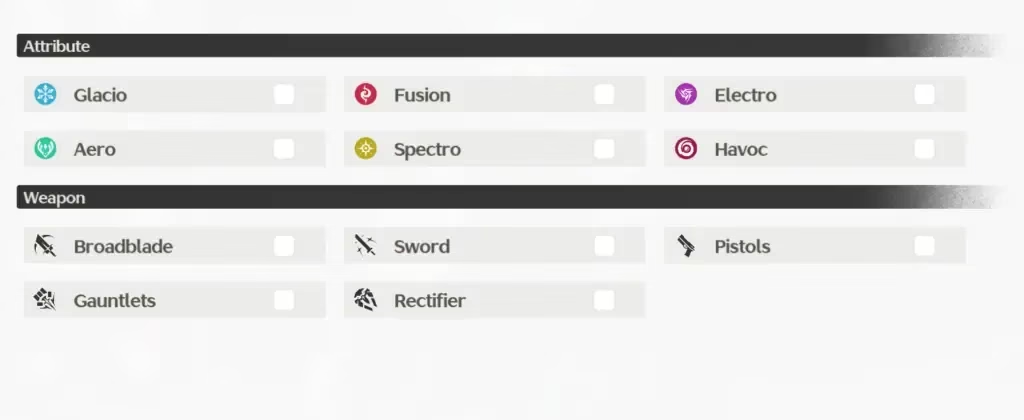
There aren’t many attacks that can be parried in this matchup, so don’t stress too much about weapon type. Bring whatever Resonators you’re most comfortable with. For me, that means someone with quick normal attacks and a dodge counter that doesn’t feel like swimming in honey.
Now, about consumables. If you have a skill issue, like me, then food buffs are your best friend. You can only have one active effect per bracket, up to a total of 5, so plan around that. I usually bring an ATK buff, a Crit Rate buff, and a stack of Revival Inhalers because this monkey’s late-difficulty attacks hit like a truck. A squishy character at low health can get deleted in one hit, especially once War Cry starts stacking.

Let’s talk about the actual fight. This guide is based on Difficulty 6 Level 90, so some moves are specific to the highest challenge.
First, Feilian Beringal will try to smack you with its right arm. If you avoid that, it follows up by trying to grab you with both arms. That grab is your parry window. If you’re standing too close, the grab won’t connect, which sounds good but actually wastes a free damage opportunity. Aim to parry that grab instead of just dodging.
On Difficulty 6, after the right-arm attack, the boss also spawns 2 phantom monkeys that send a shockwave in your direction. You can’t parry those, so keep moving.
Next, the boss throws a ground tantrum: right arm slam, left arm slam, then both arms together. Watch the arms, and evade the moment they land. There’s a huge damage window after the third slam, so try to dodge toward the boss before that final hit instead of away from it. That way you’re already in position to punish him. On higher difficulties, the number of slams increases, so don’t assume three is the magic number forever.
When Feilian Beringal drops to about one-third health, he enters phase 2. This also happens every time he gets immobilized if his white stagger bar is fully depleted. He pulls out a log, stands on top of it, and slams to create ground shockwaves. Keep a medium distance so the shockwaves are easier to read, and dodge right before each wave reaches you. The number of shockwaves increases with difficulty, naturally.
On Difficulty 6, the pain doesn’t stop there. When the boss drops down from his log, 4 phantom monkeys spawn one by one. They can’t be parried, so watch your surroundings. When a monkey spawns and roars toward you, it’s about to clap and send a shockwave. Evade immediately.
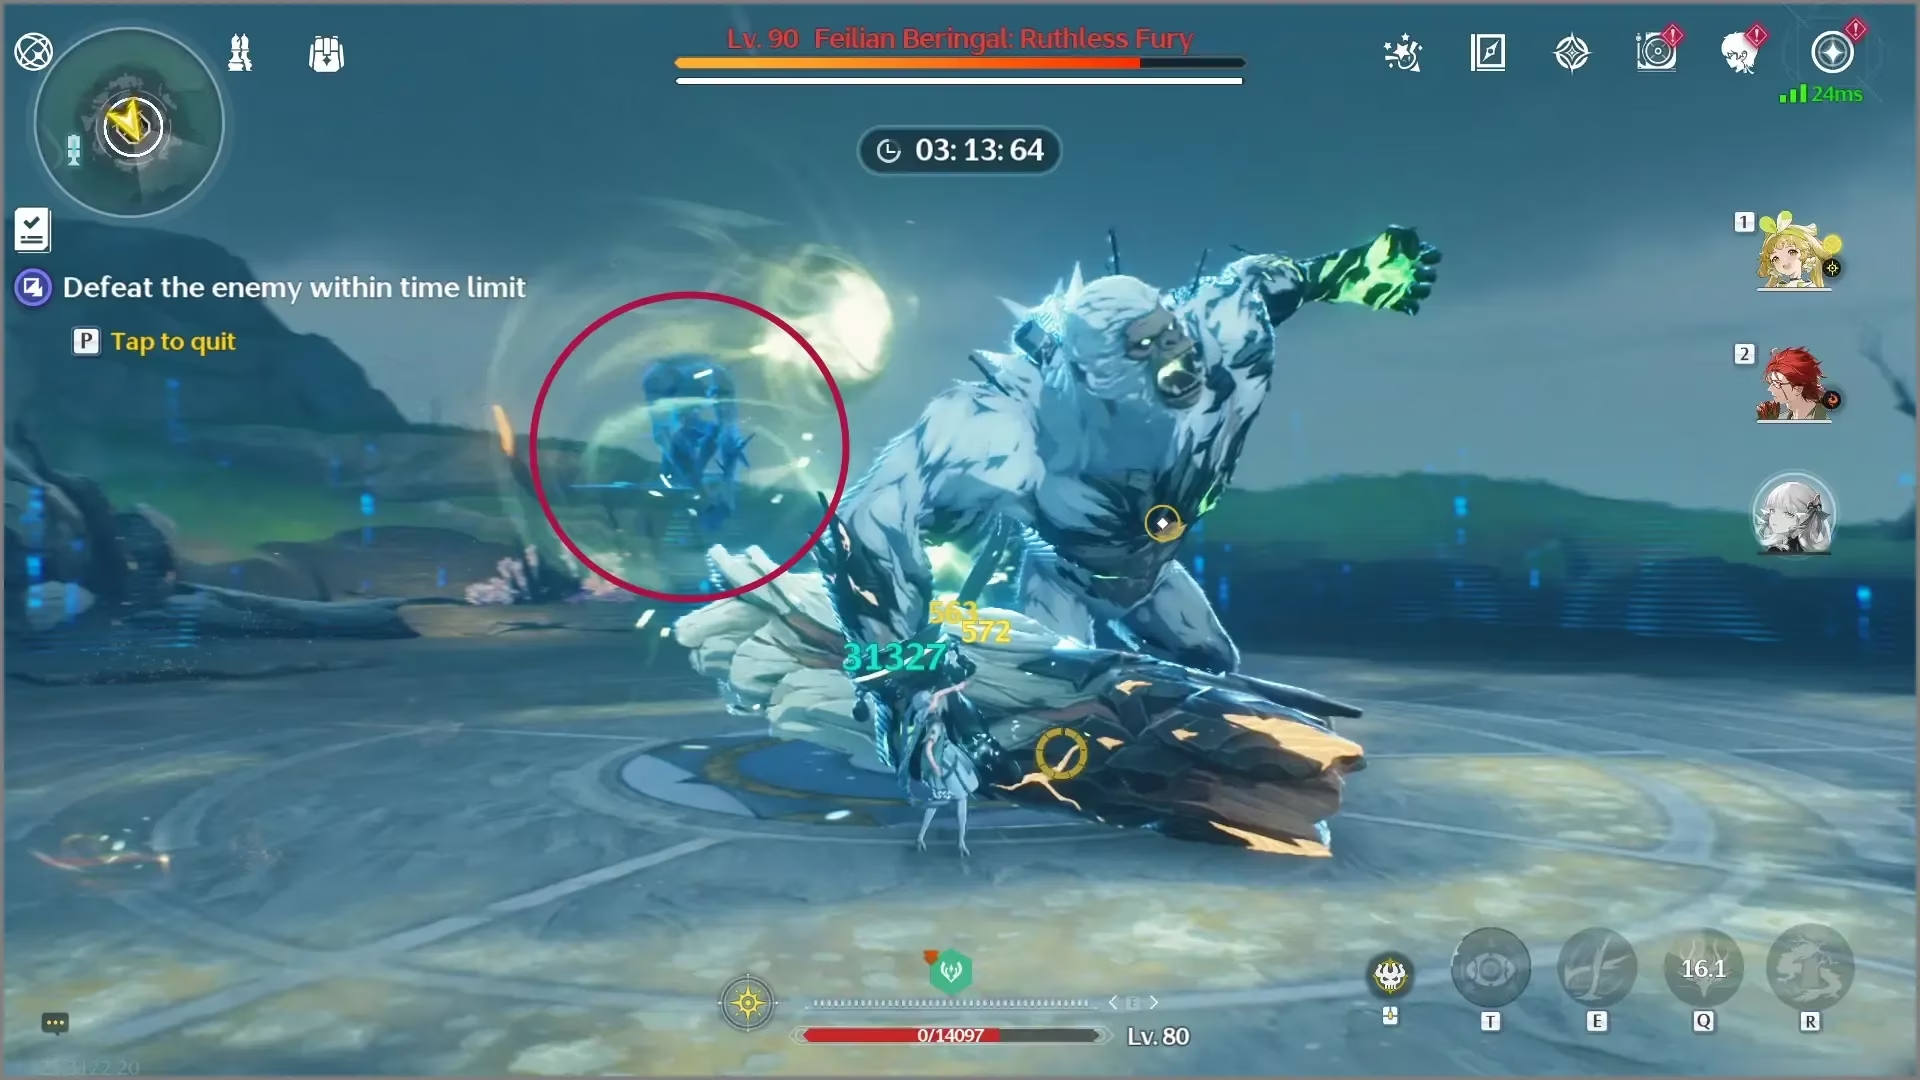
The boss then tantrums again, but this time he’s armed with the log. This move has two variants. He swings the log, and if you do not parry that first swing, he slams it down and spawns 2 phantom monkeys to attack you. If you do parry the first swing, you stop the whole sequence: no slam, no monkeys. Learn the timing and you can read him like a book.
Finally, when Feilian Beringal roars, he starts spinning while holding the log. At that moment, an updraft wind current appears. Jump and glide to avoid the spin. He rotates counter-clockwise 6 times while moving toward you. You can try to dodge the log manually, but honestly, that’s a risky move. Glide above it and save yourself the stress.
Patience is the real strategy here. Buff your team, avoid Aero, punish the big windows, and don’t let War Cry drag the fight into one-shot territory. Once you see the pattern, this monkey becomes much less terrifying.
Good luck, Rover. Now go make that oversized ape regret ever picking up a log.
Industry analysis is available through Newzoo, and it helps frame why tough, repeatable challenge modes like Tactical Holograms stay relevant: long-tail engagement often comes from skill-check encounters that reward mastery, fast clears, and build experimentation rather than one-and-done story fights. In practice, that’s exactly what Feilian Beringal Difficulty 5–6 demands—shortening time-to-kill to avoid runaway scaling like War Cry, optimizing survivability uptime for mechanics that favor staying at full HP, and refining dodge-counter consistency to accelerate stagger and create safer burst windows.
0 Comments